This time we have this task: we need to print badly taken digital pictures, so we have to improve them in some way — raise contrast, sharpen, make them «looking better».
As always, this result can be achieved going both easy (easy-to-use) and hard (where-am-i?..) way — we will pass both.
(Surely, below is not a single algorithm to do this job.)
Contents
«Easy» way
- Launch your favotire graphical editor and open image:
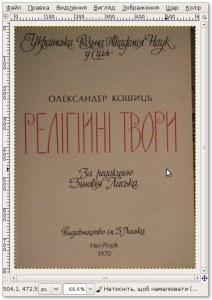
If your camera give you horizontal image, you need to rotate it, of course. - Duplicate background in a new layer:
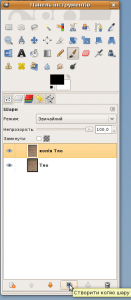
- Blur newly created (upper) layer a lot:
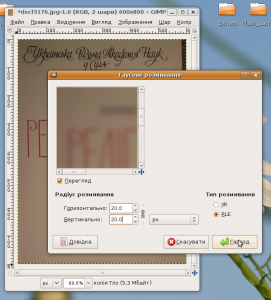
I’ve choosen value of 20 for blur radius, but this may be increased — have a try. I’ve been using up to 250 for some particular (rather large) images. - Select «Division» as a composition mode for this layer:
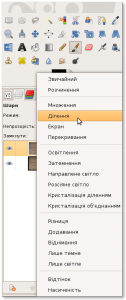
After these steps we have:
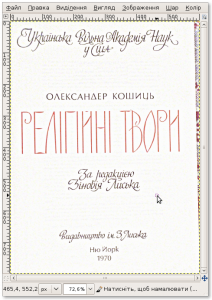
- Flatten image:
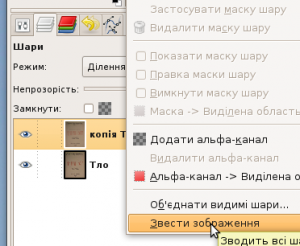
- Increase sharpness using «Unsharp mask» filter:
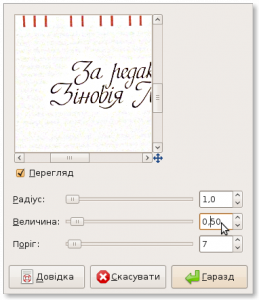
- Save, print, enjoy…
In a real life case we may want to use some different algorithm, different values, but… we are talking about something completely different here :-)
Keep reading.
«Hard» way
image=${1:?"Set image name as a param"} # let's say all images have three-letters "extension" convert -monitor $image \ \( +clone -blur 0x20 \) +swap \ -compose divide -composite \ -sharpen 0x1.3 ${image%%.*}_better.${image: -3:3} |
Page before and page after (downsized for web).
Btw, if your camera gives horizontal image sometimes and you need to rotate some images — some, but in the same direction — you can use key «-rotate "90>"». This will rotate only horizontal images. Well, if you camera, luckily, provide your images with orientation tag, you can use -auto-orient, of course!
Btw, again, if you need to have black colour a bit more black, you can modify a script in, let’s say, this way:
image=${1:?"Set image name as a param"} convert -monitor $image \ -rotate "90>" \ \( +clone -blur 0x20 \) +swap \ -compose divide -composite \ \( +clone -blur 20 \) +swap \ -compose multiply -composite \ -sharpen 0x1.3 ${image%%.*}_farbetter.${image: -3:3} |
Page before, after the first script, after the second one (downsized for web). Again, this is not the only way, as if working with The GIMP or PhotoShop, of course :О)
For these particular images i’ve stopped on this:
image=${1:?"Set image name as a param"} out="002"; mkdir -p ${out} convert -monitor $image \ -resize "3456x3456>" \ -rotate "90>" \ -median 1 \ \( +clone -blur 0x20 \) +swap \ -compose divide -composite \ \( +clone -median 3 \) +swap \ -compose multiply -composite \ -level 10%,90%,1 \ -sharpen 0x1.3 ${out}/${image%%.*}.${image: -3:3} |
For the last picture this gives (downsized for web):
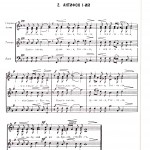
Image is quite clean, occupies less disk space, can be pretty-printed :-)
Conclusion
:-)
I hope, you’ve agreed with my sarcasm.
And needless to say how easy that «hard» way — for a single picture, for all pictures in a directory, for all images around… Btw, long live „find” :-)
Of course, in real life it’s more convenient to have all processed images in a separate directory — it’s not a problem, too.
This command-line way works great under both Linux and (almost great,-) Windows. Just download and install ImageMagick. And read the manual :-)